 None
 Origins
 Everyday
 Coldie
How to color grade a video on iPhone
You do not need a laptop to grade properly. This is the order colorists follow, done on your iPhone with the clips you already have.
1Import your clip
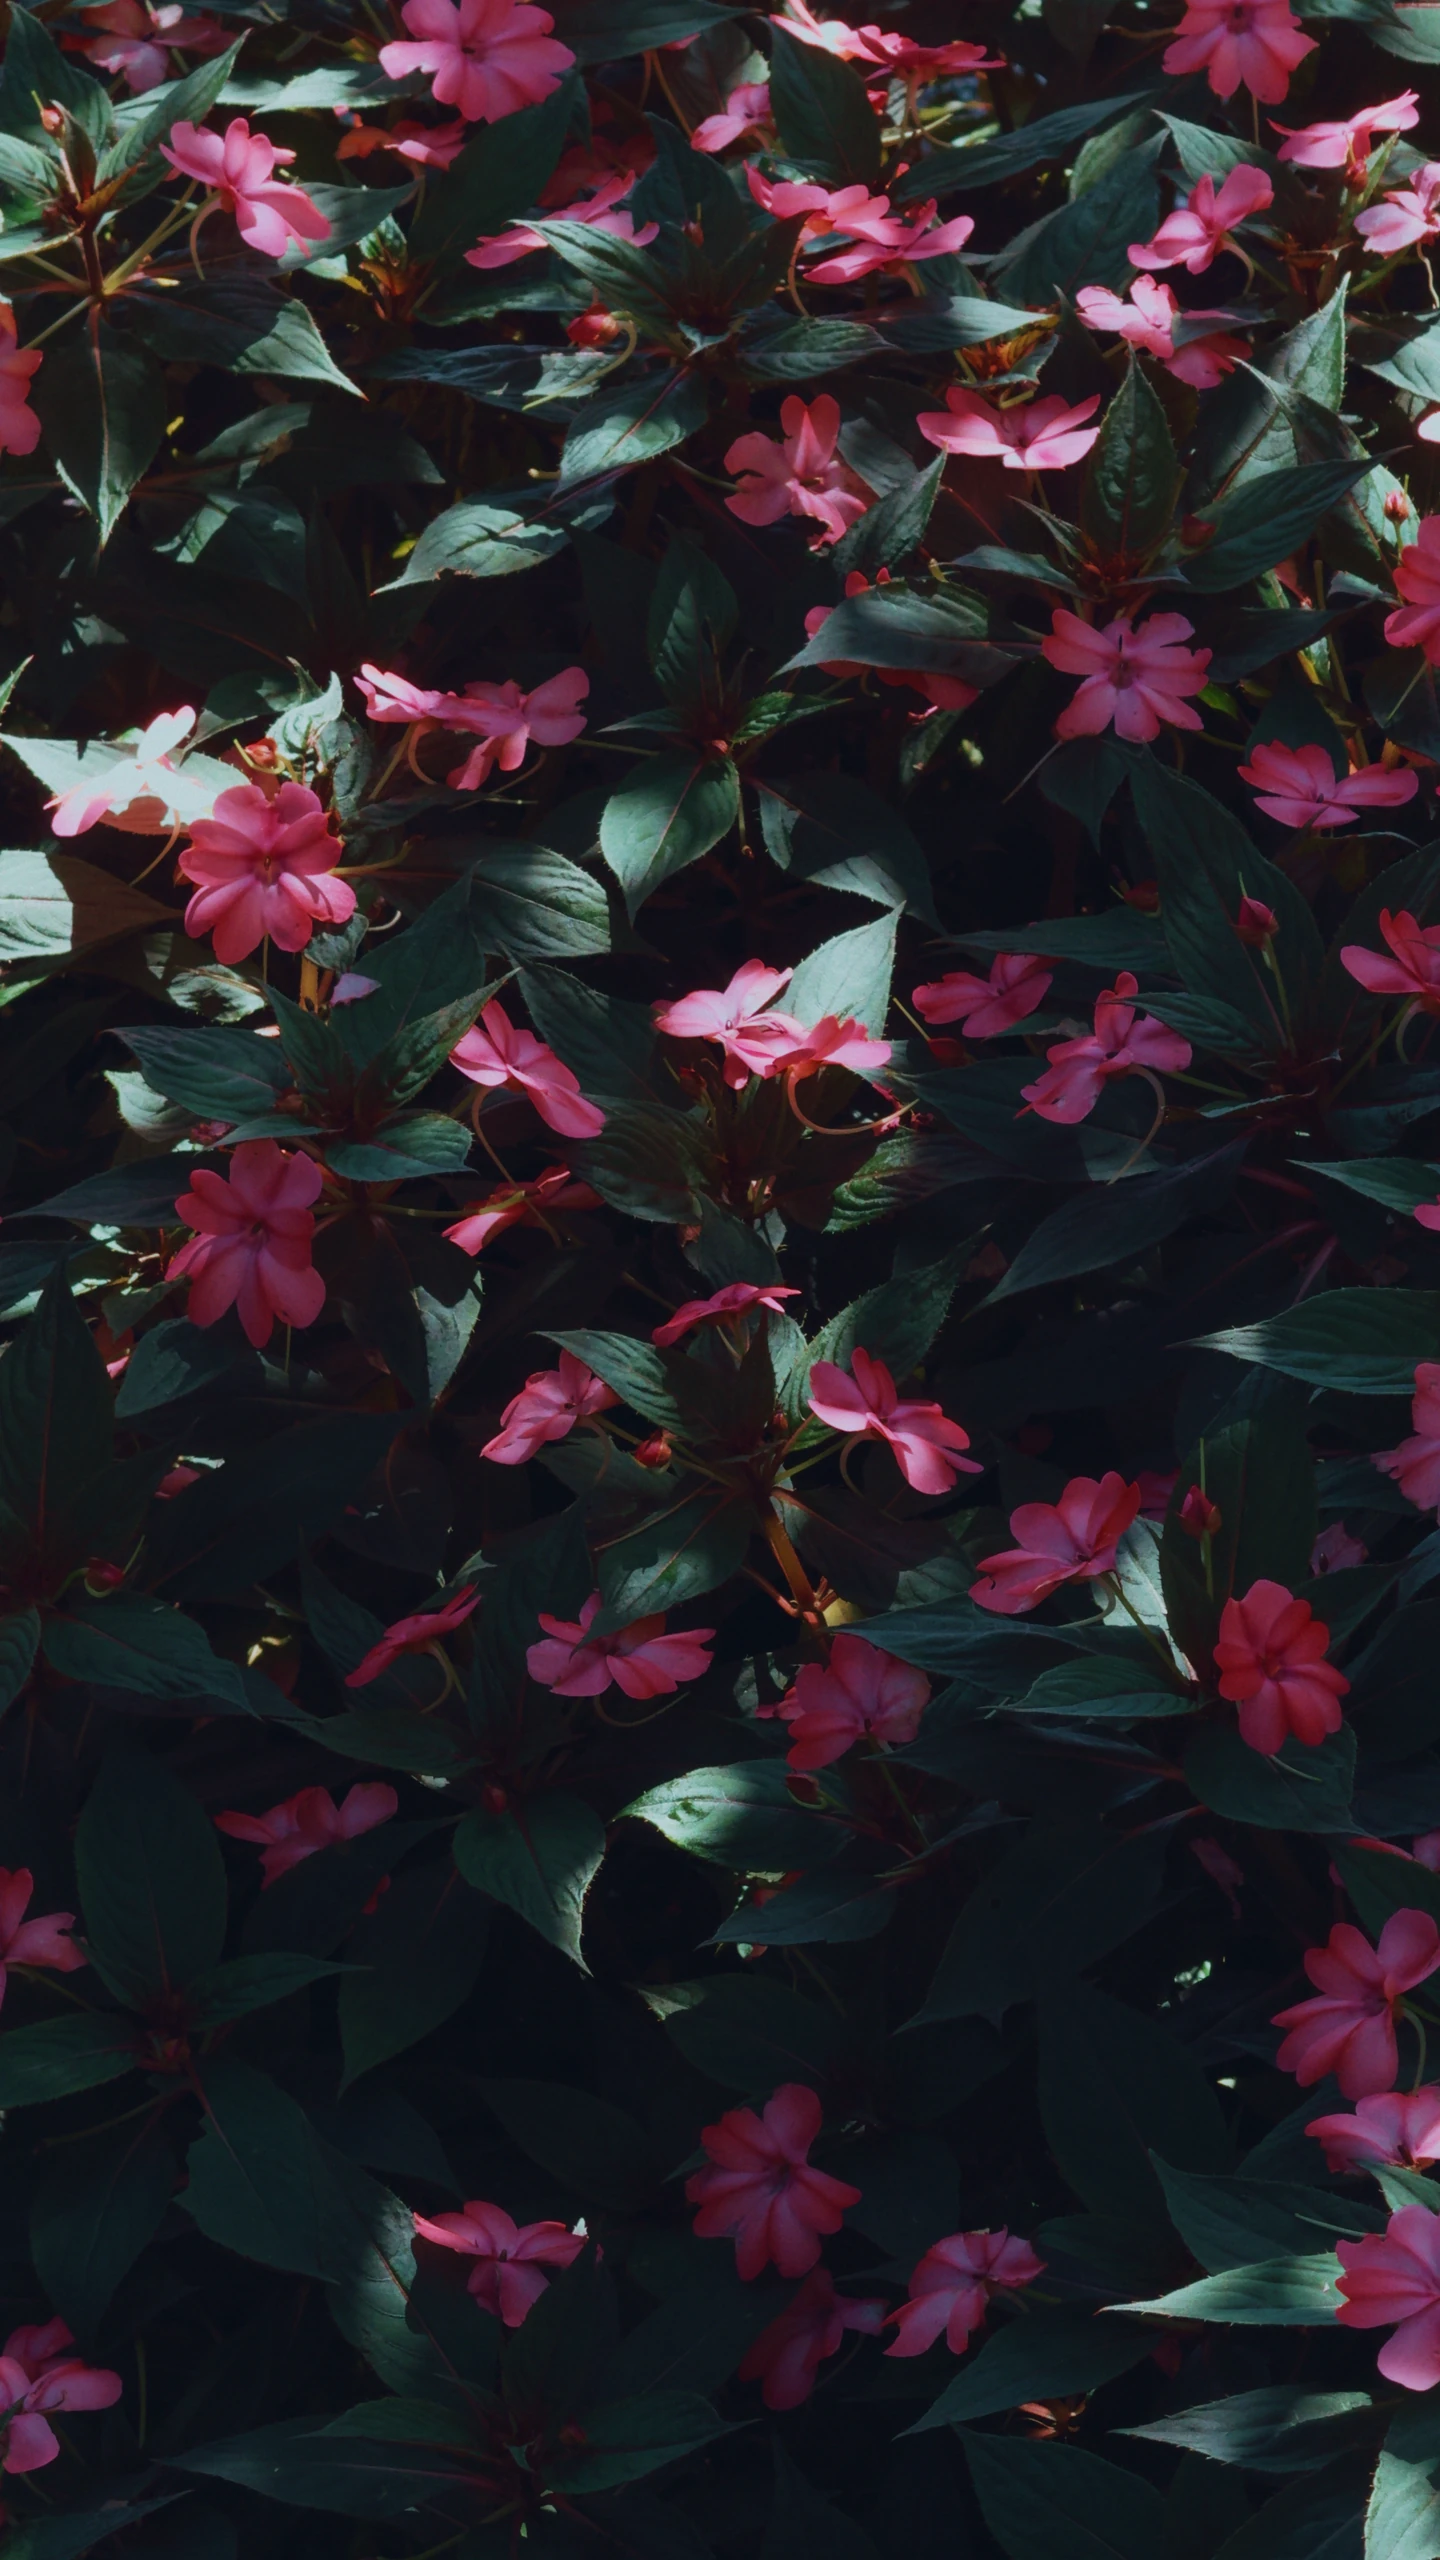
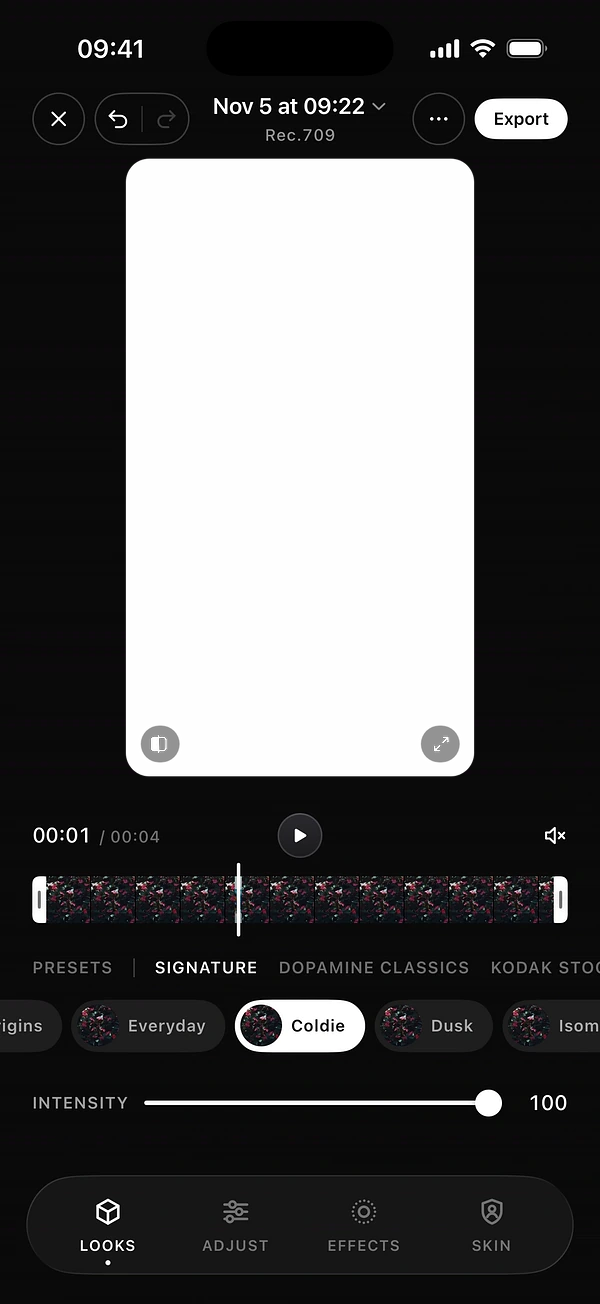
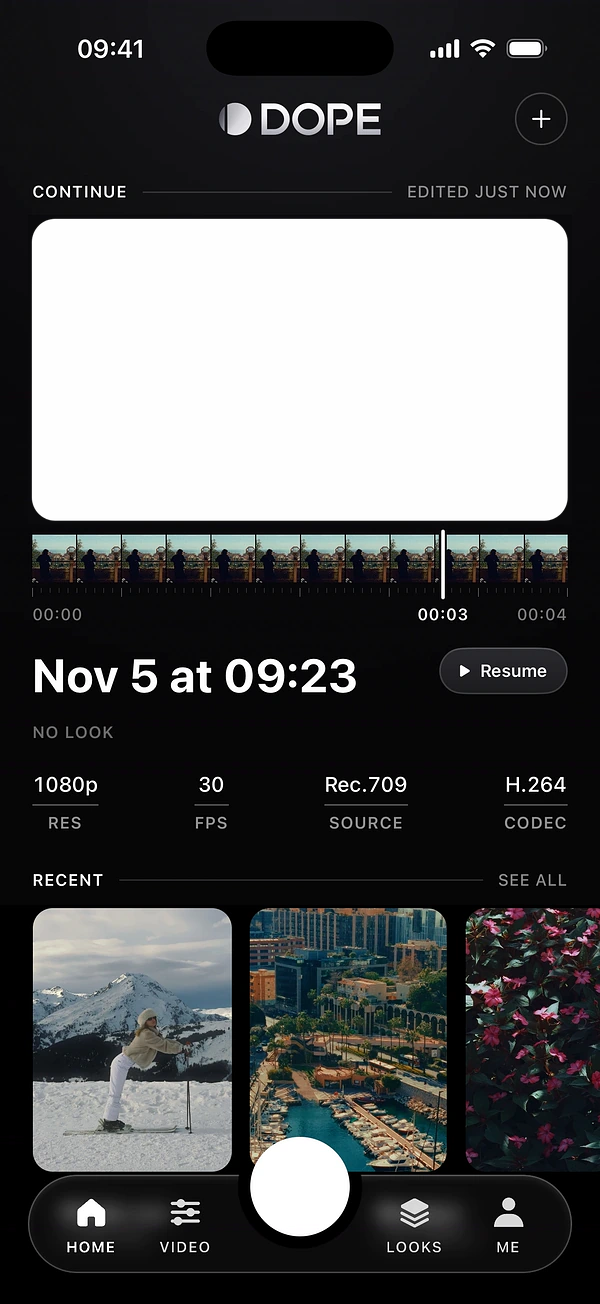
Tap + on Home or in the Video tab, then pick a video from Photos. DOPE reads the file and detects Apple Log, Apple Log 2 and HDR (HLG). Anything else opens as standard video. If the detection is wrong for your clip, tap the title at the top of the editor to change it.
2Start with a look
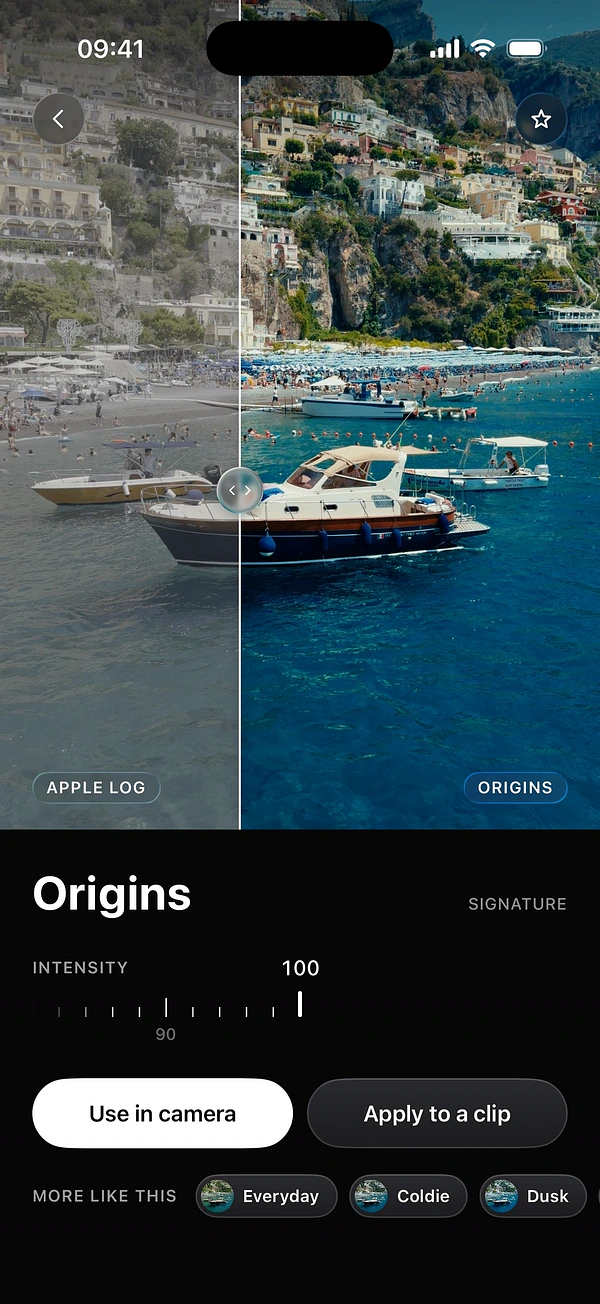
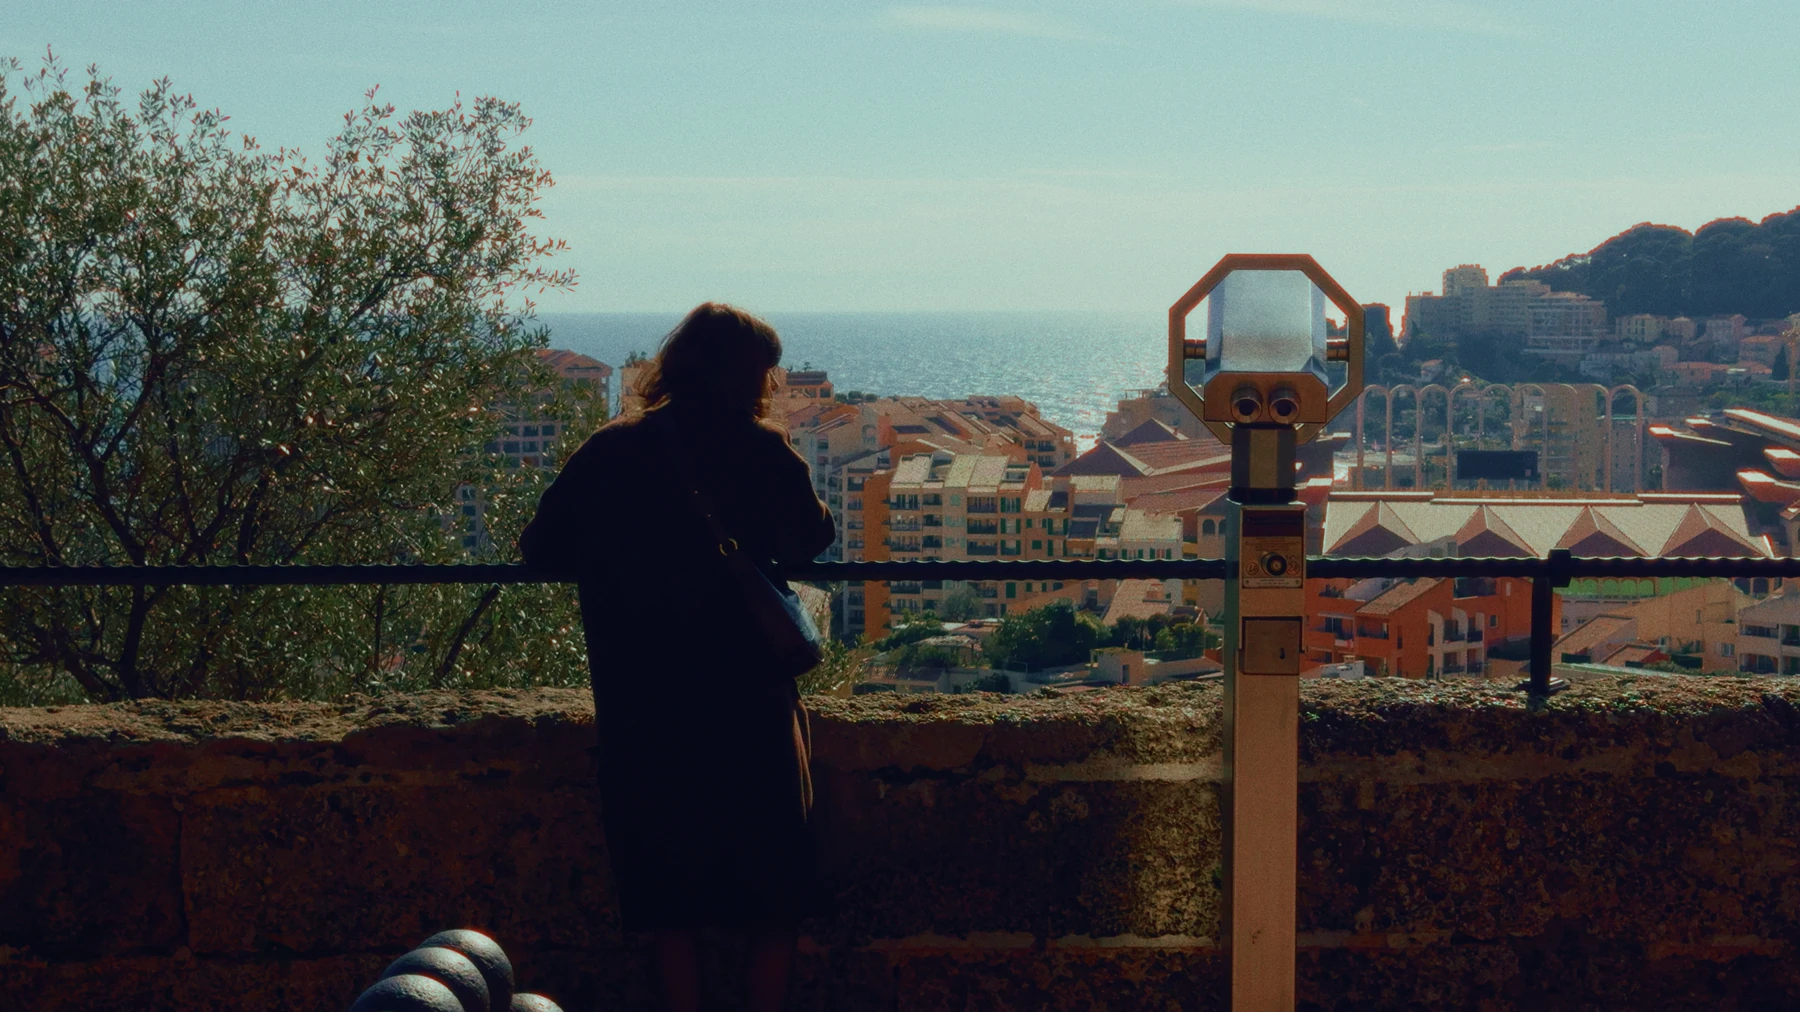
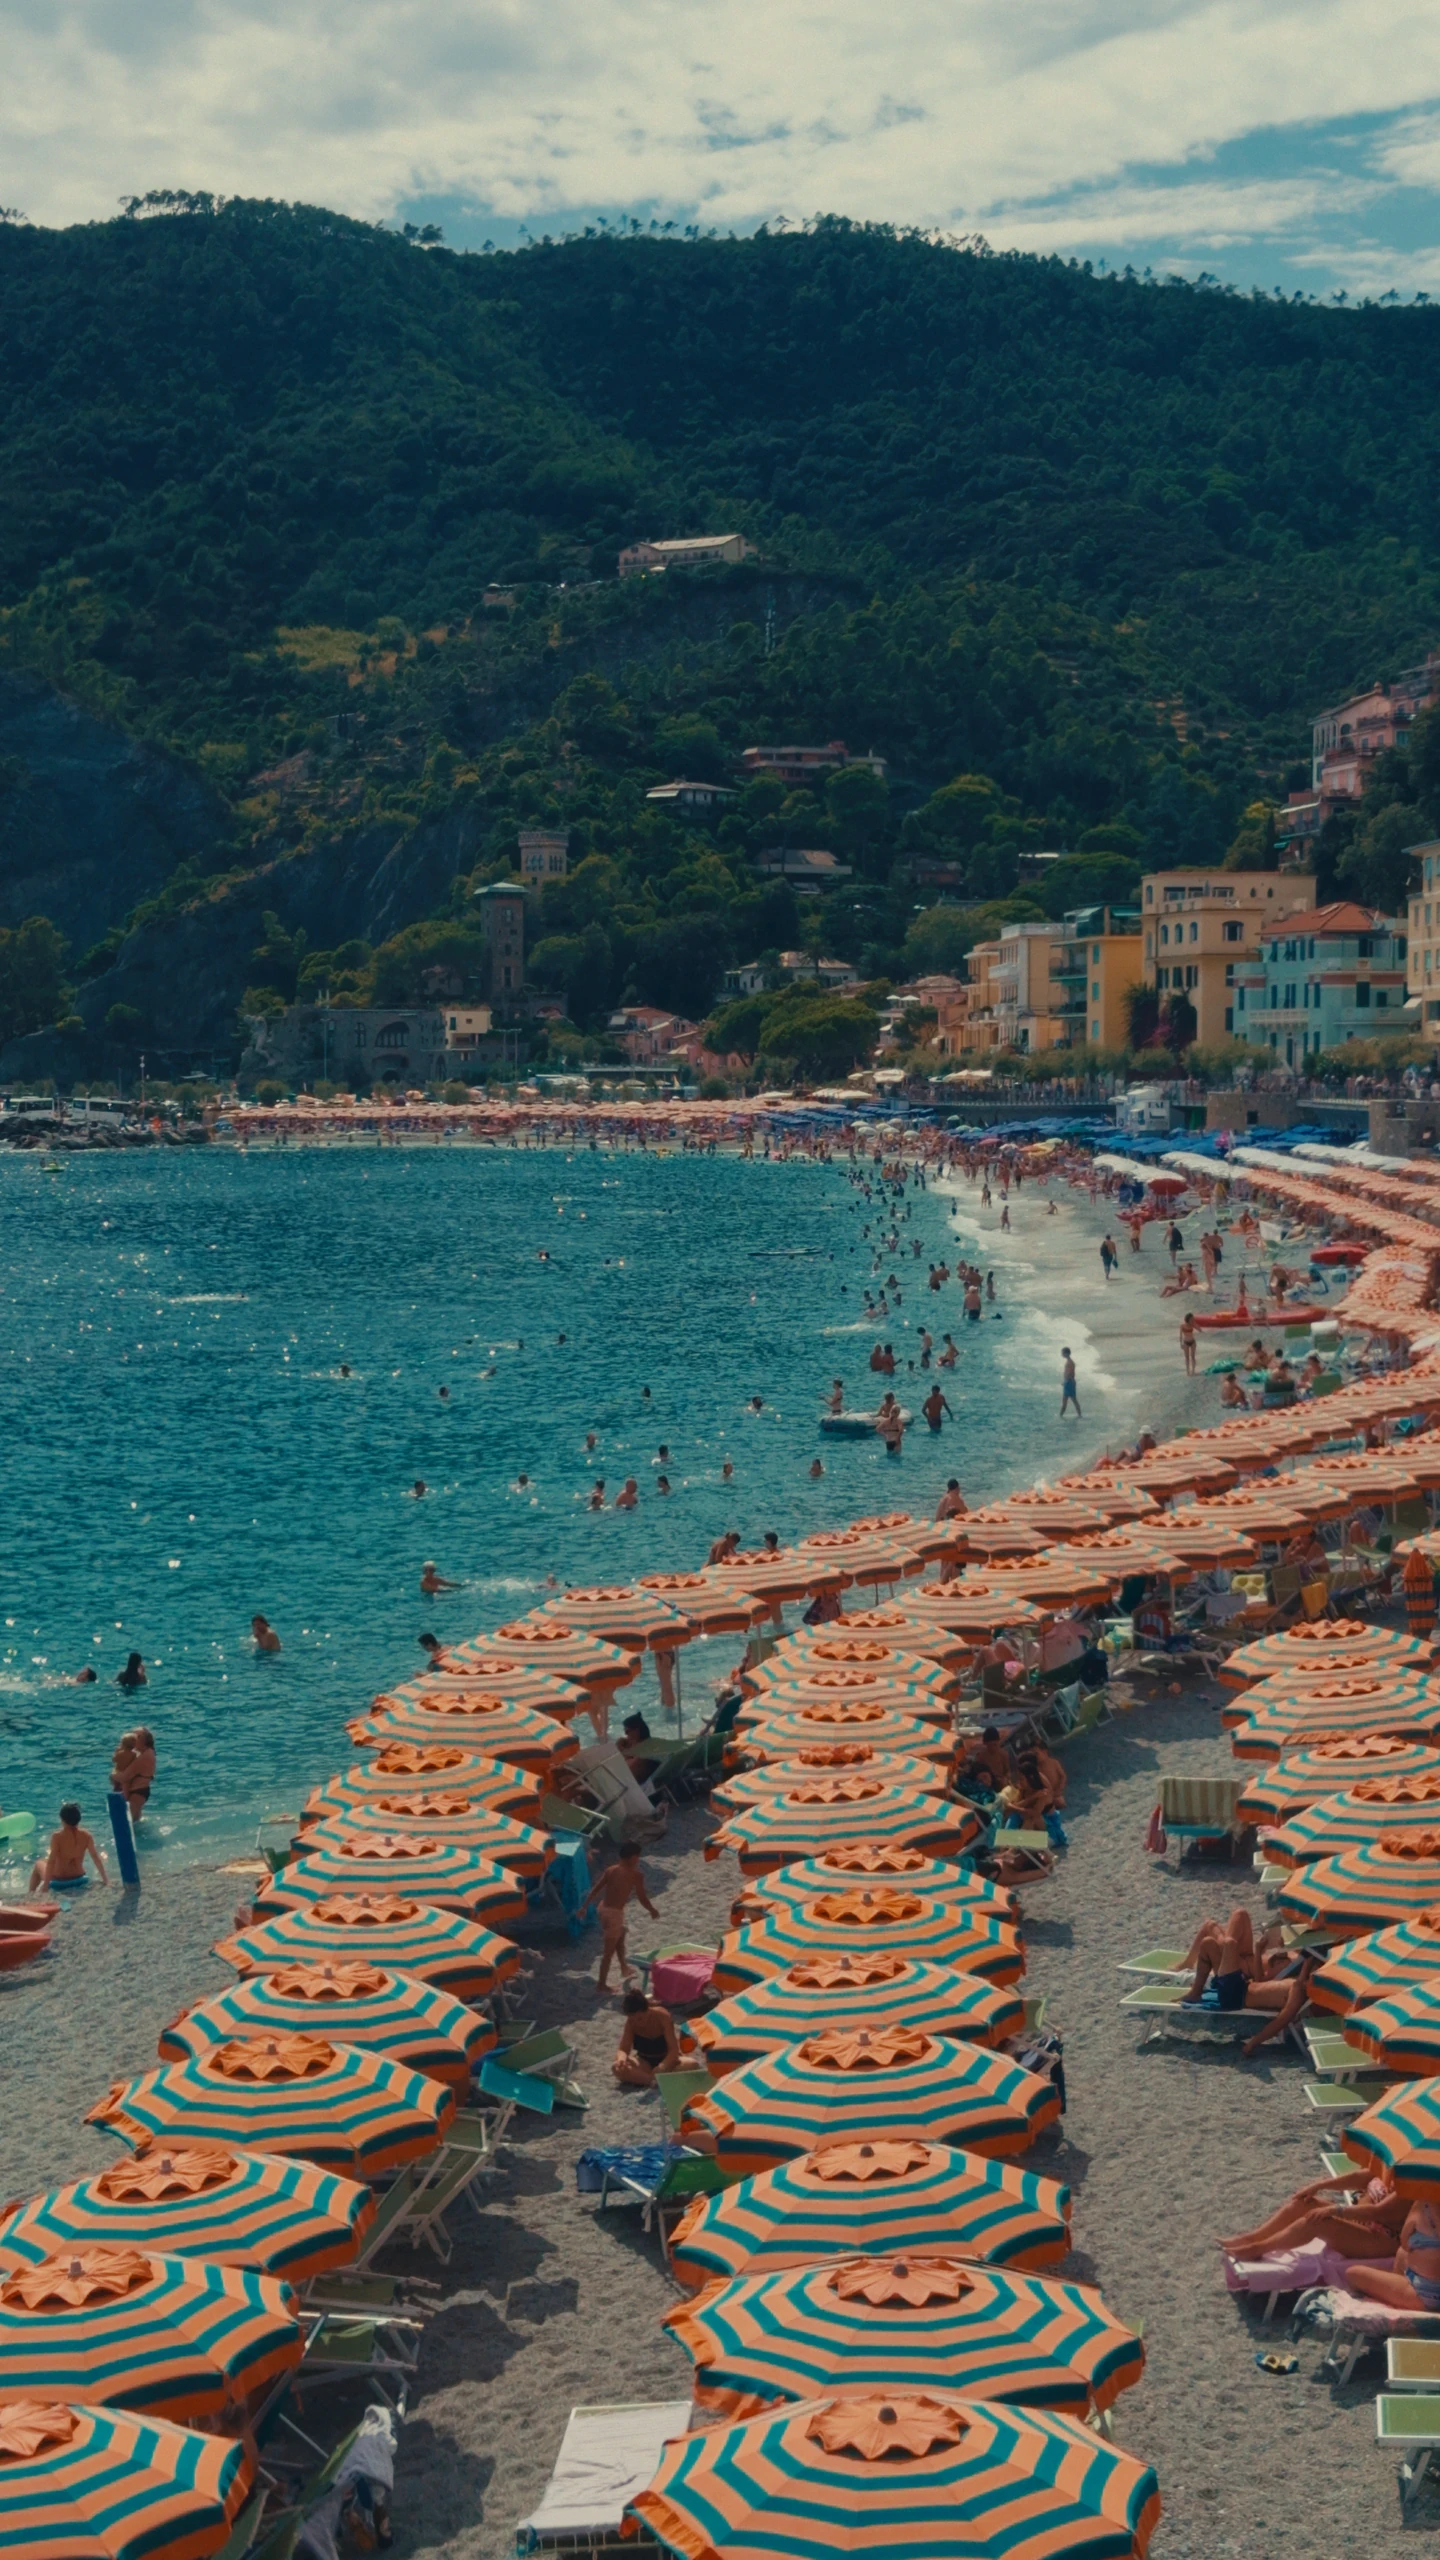
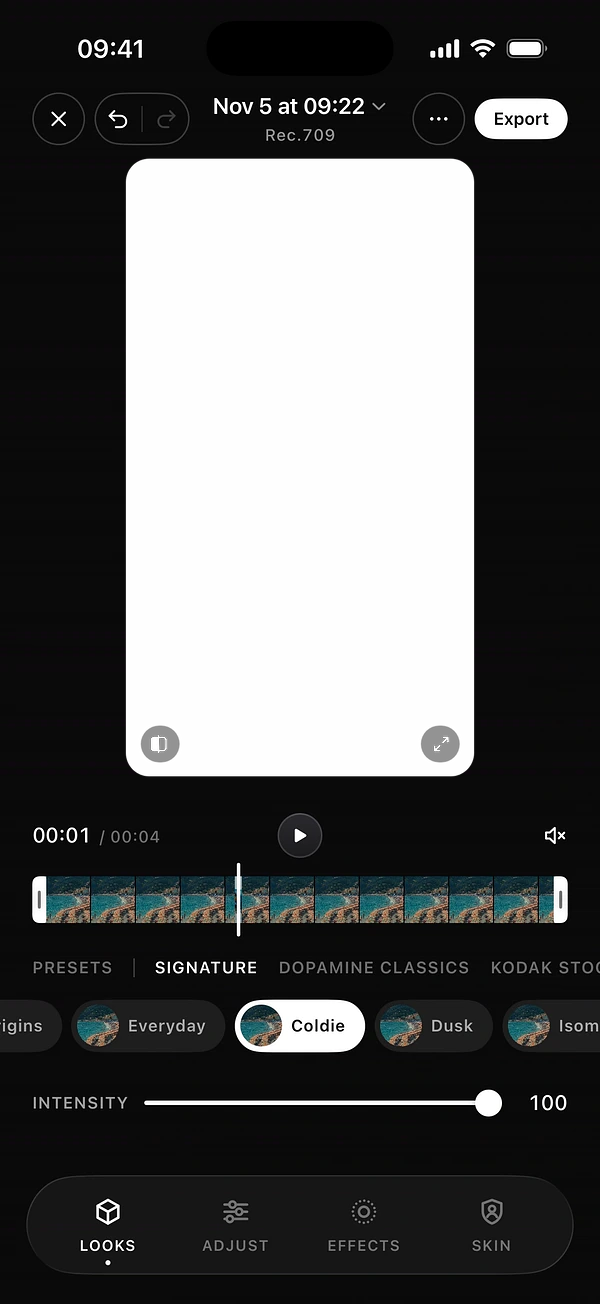
The Looks tab comes first. Choose a family, tap a look, and set Intensity. This gets you most of the way, and everything after it is refinement. Press and hold the image to see the clip before your changes.
3Fix light, then colour
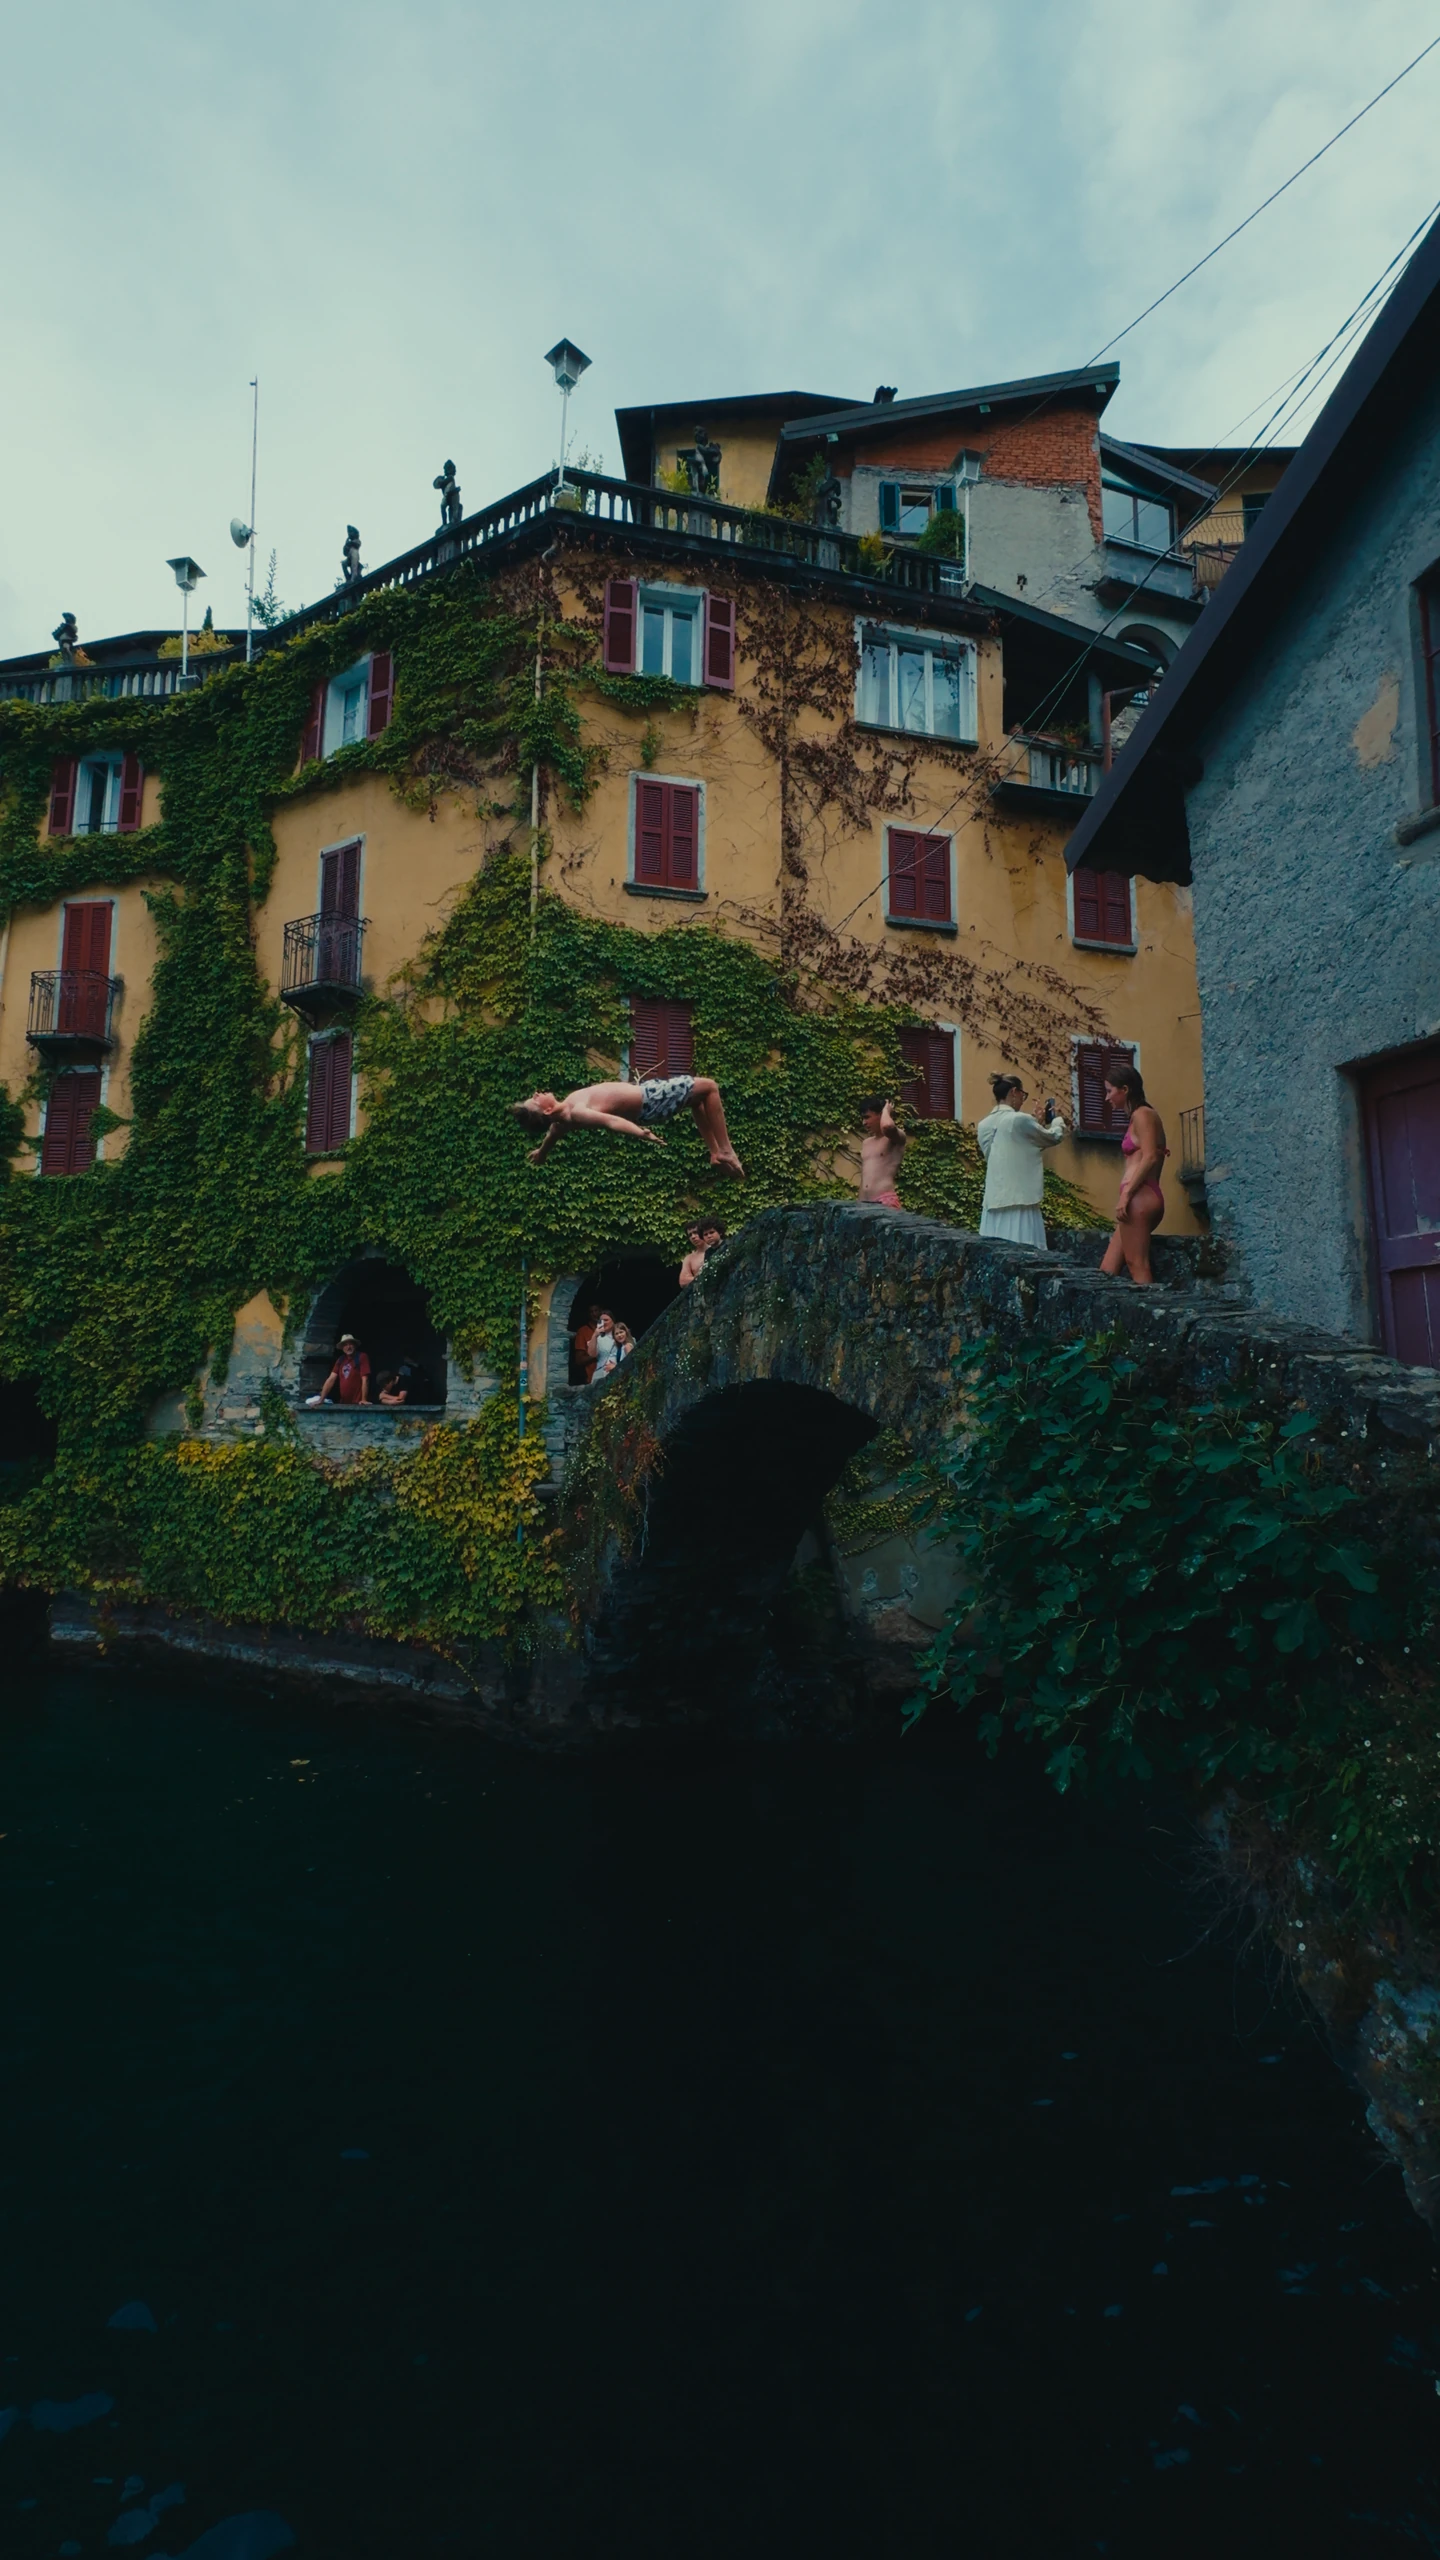
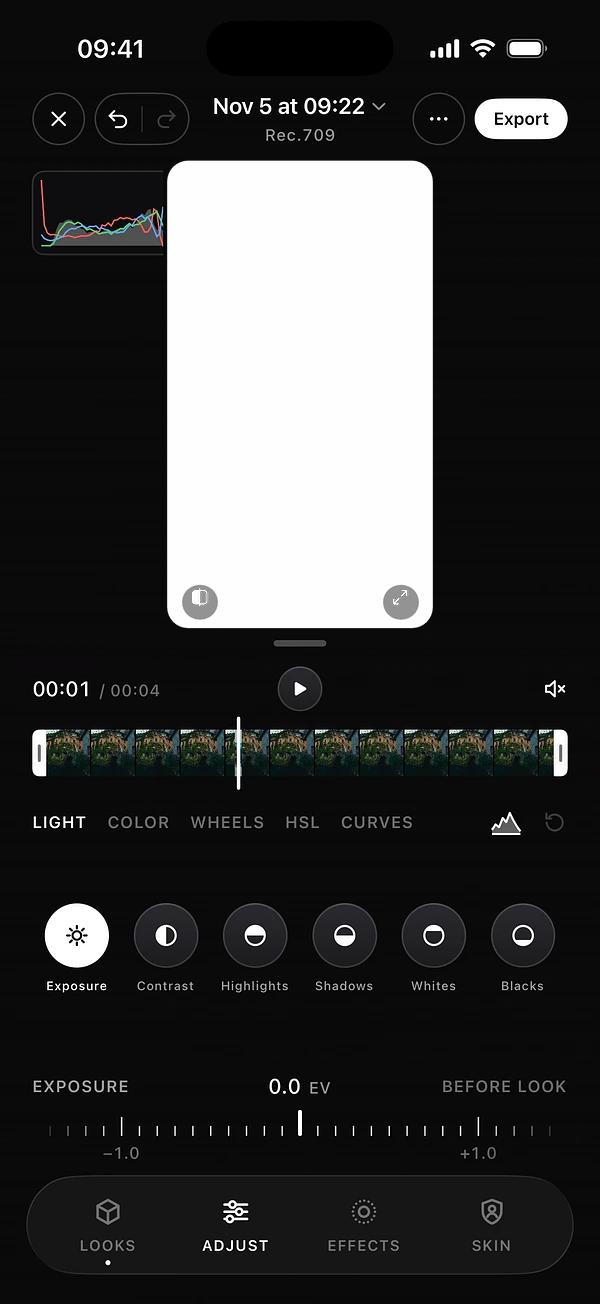
Open Adjust. Work from the top down, because brightness changes how colour reads.
- Light
- Exposure, Contrast, Highlights, Shadows, Whites, Blacks.
- Color
- Temperature, Tint, Saturation, Color Boost, Density.
- Wheels
- Shadow, Midtone, Highlights and Offset, to tint each part of the image.
- HSL
- Hue, Saturation, Luminance and Density for each of eight colours.
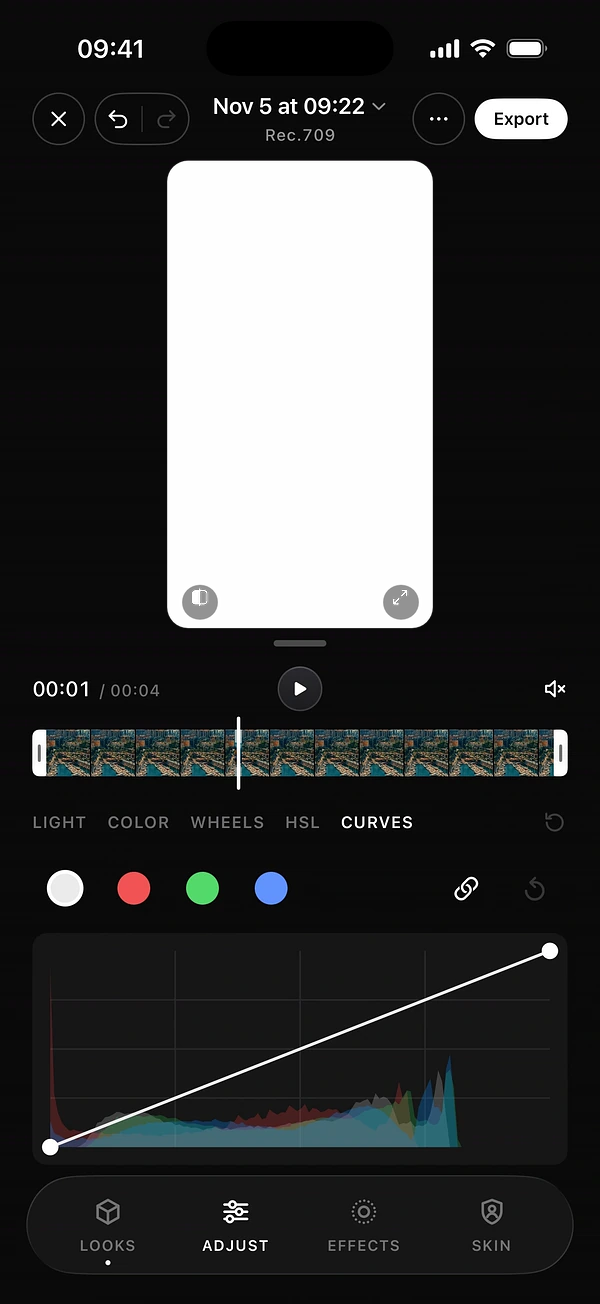
- Curves
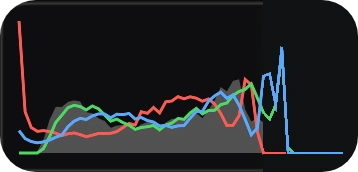
- Precise contrast, with Y, R, G and B.
A simple order that works
- Set Exposure so your subject looks right.
- Pull down Highlights until the sky or windows keep detail.
- Lift or lower Shadows to taste.
- Correct Temperature and Tint on something that should be neutral.
- Use HSL for one problem colour, such as a green that looks too bright.
- Finish with a small Curves move if the image needs more depth.

4Add film effects
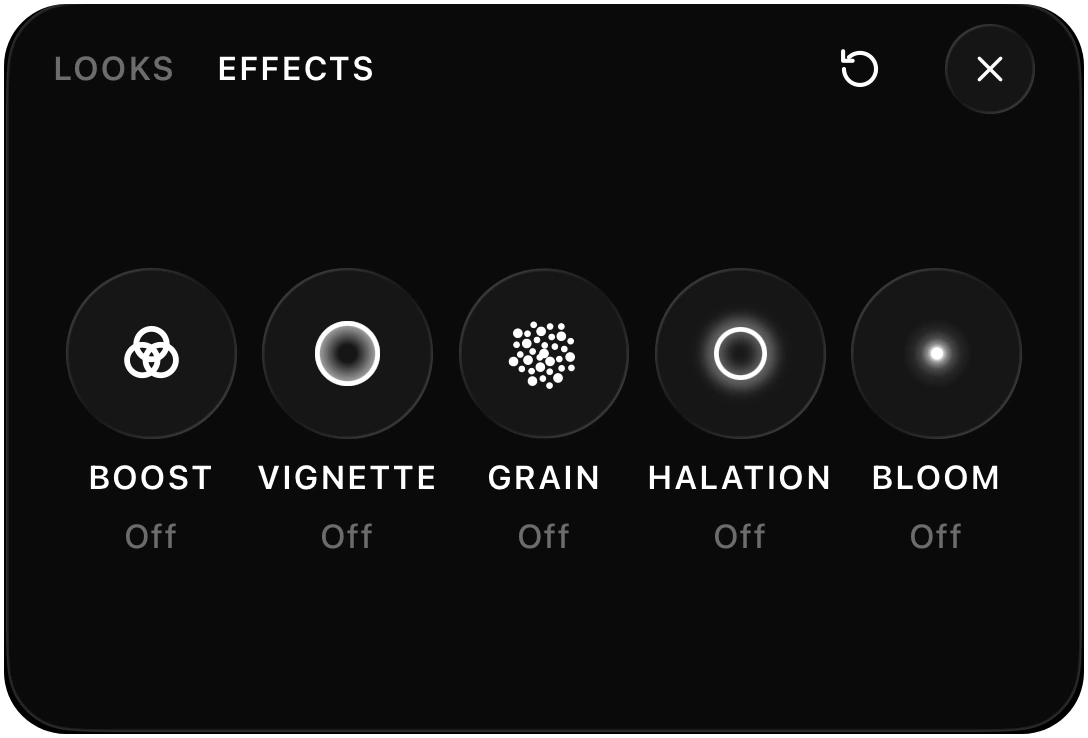
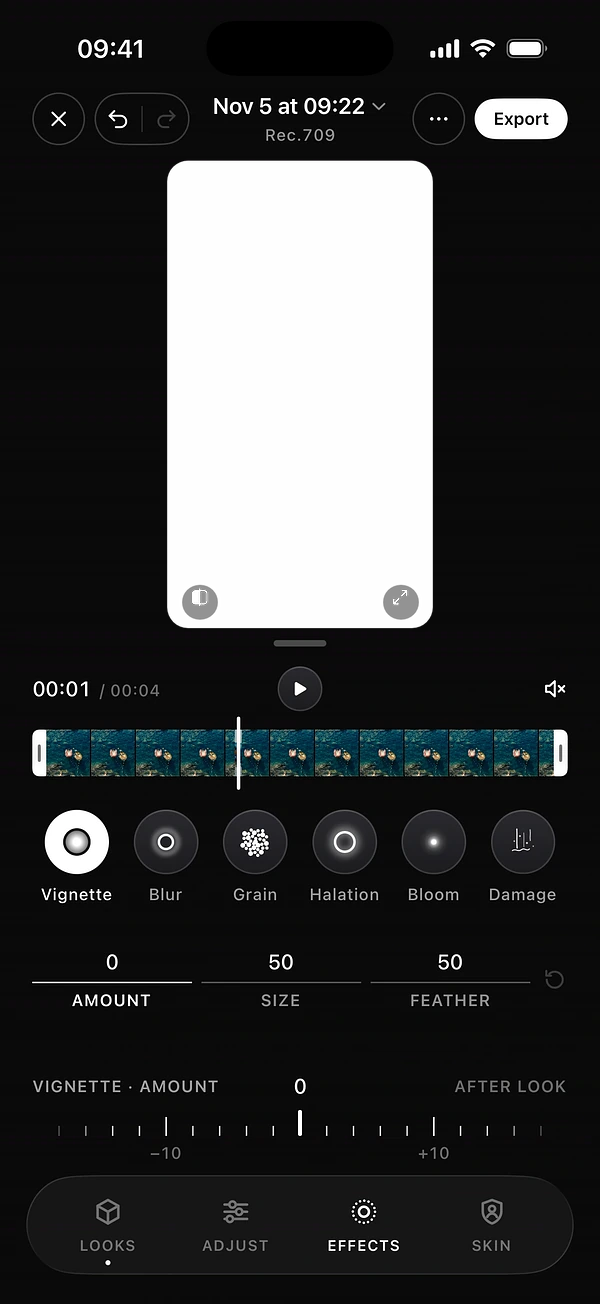
Open Effects: Vignette, Blur, Grain, Halation, Bloom and Damage. Each one has its own controls. Grain has Amount, Size, Texture and Structure. Bloom has four profiles, including Black Pro-Mist. Read film grain, halation and bloom, explained to use them with restraint.
Protect skin
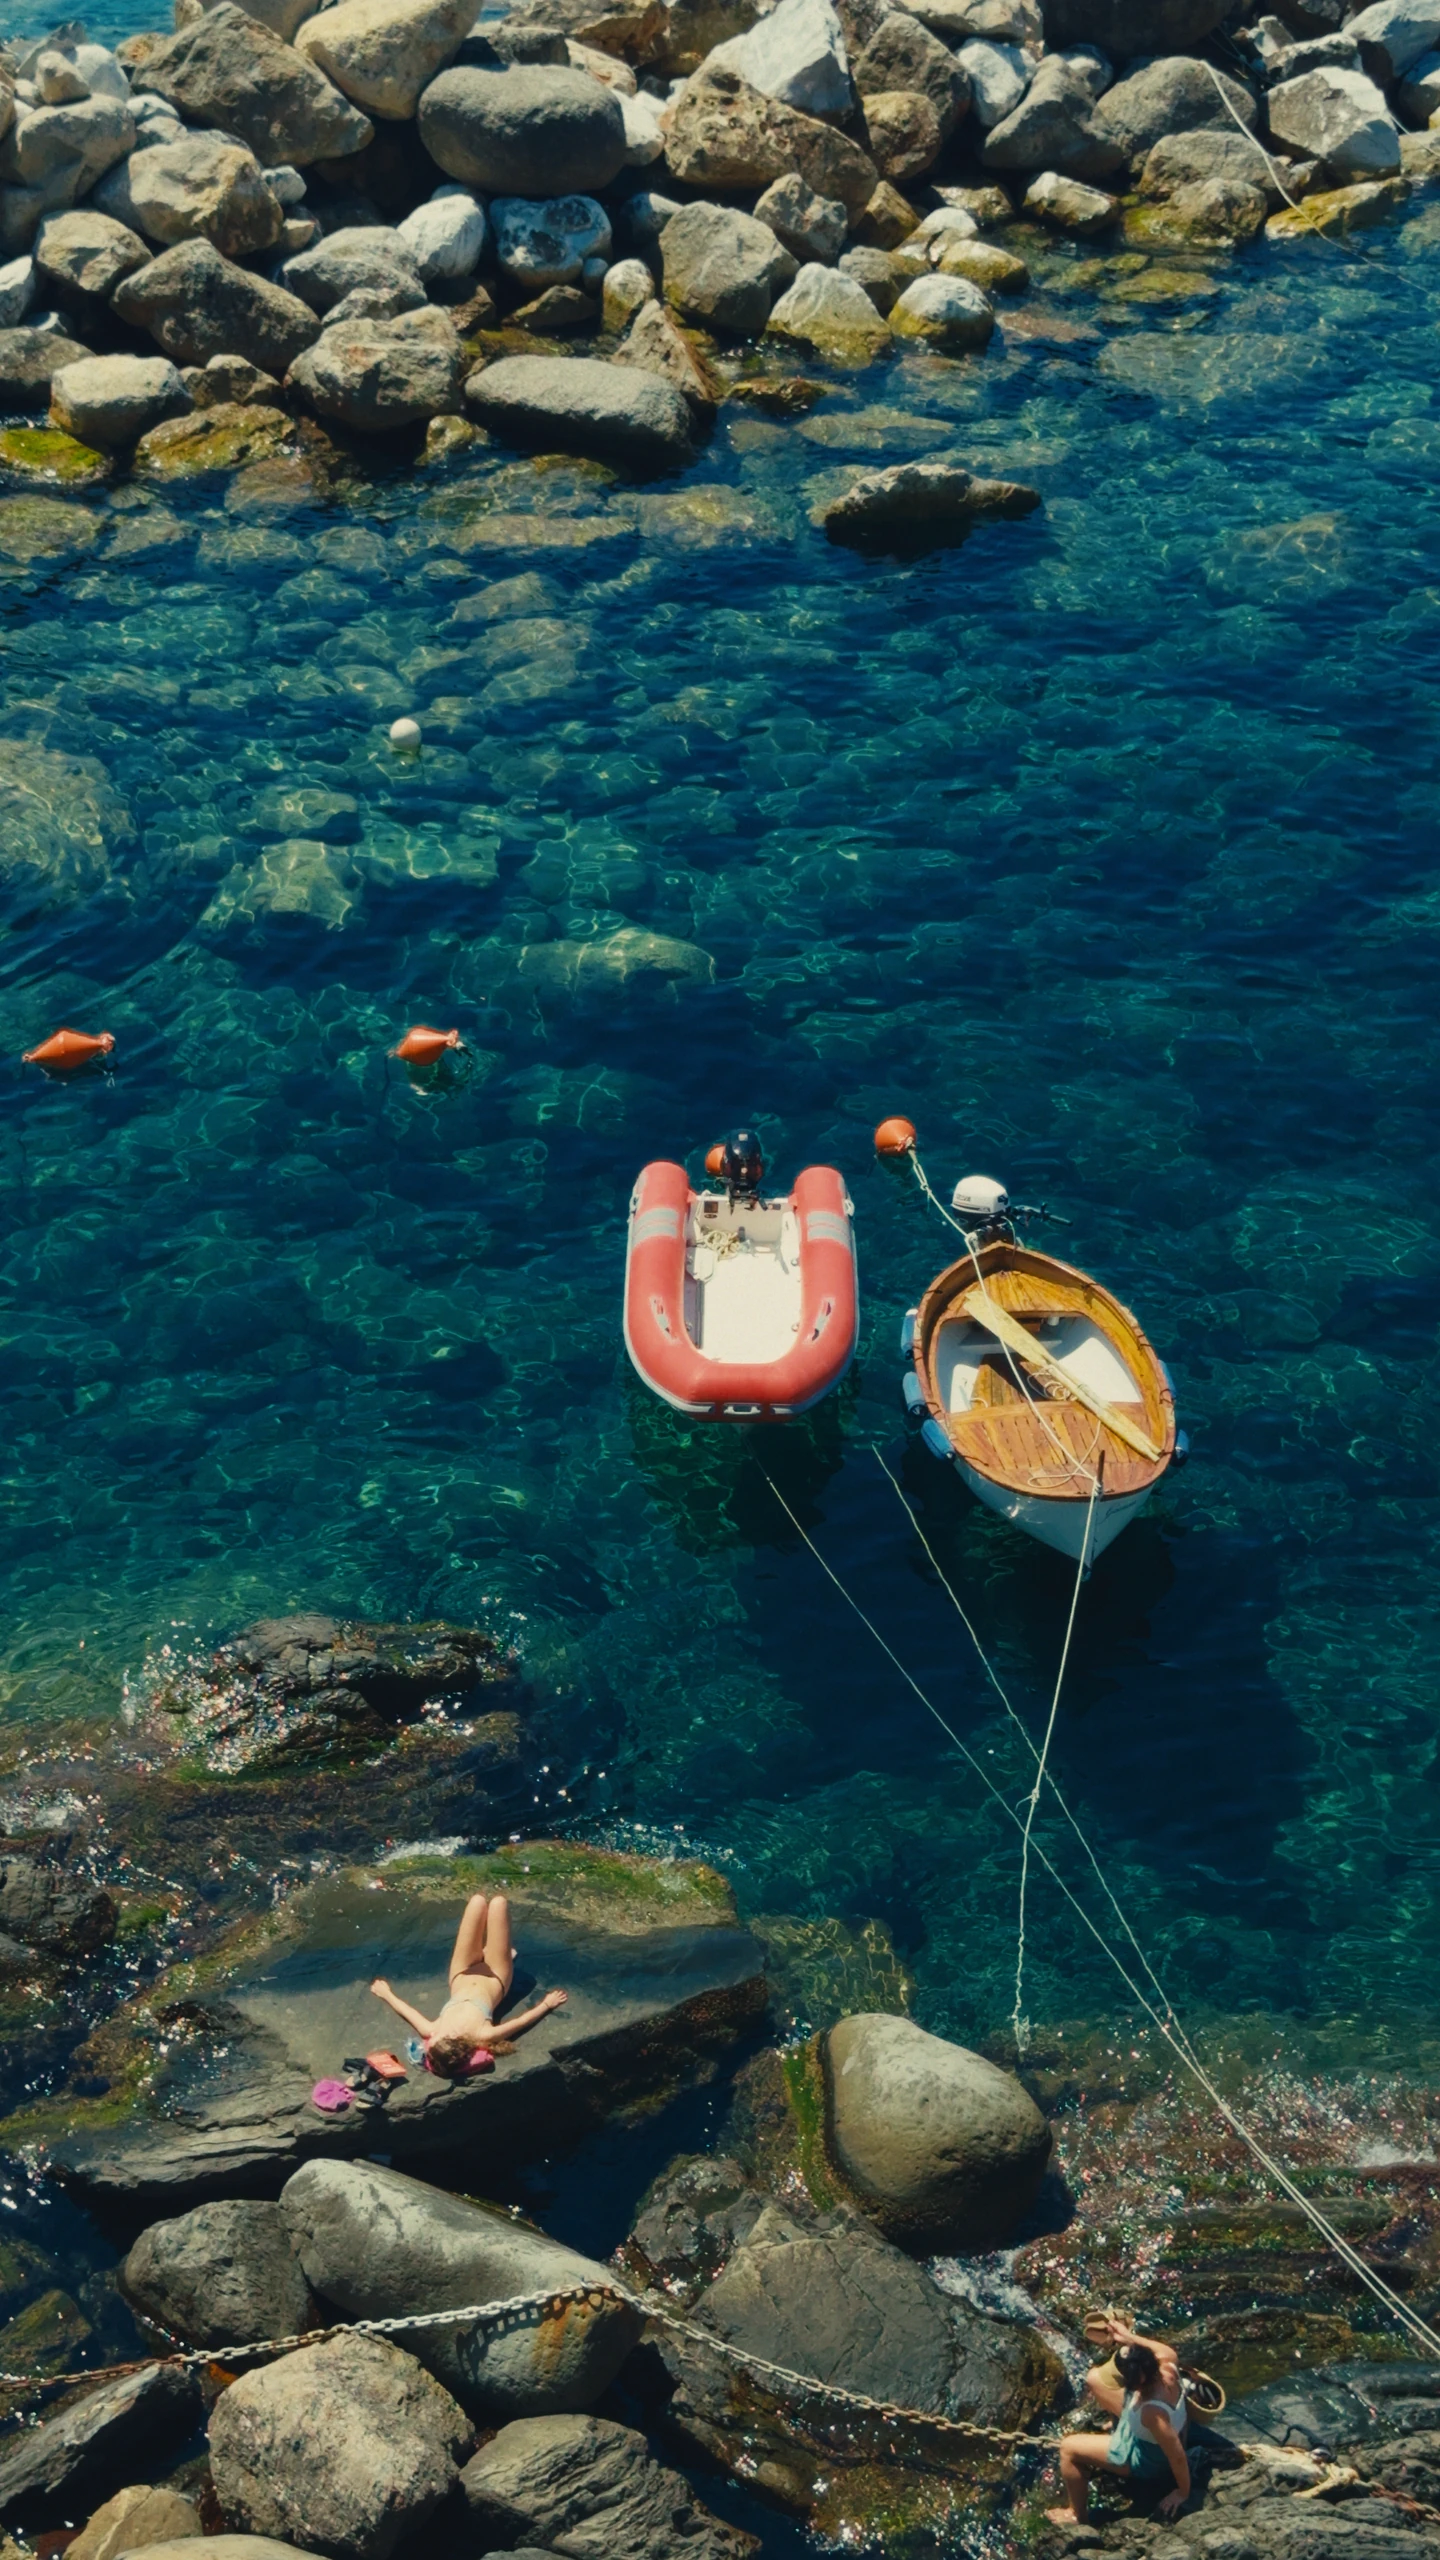
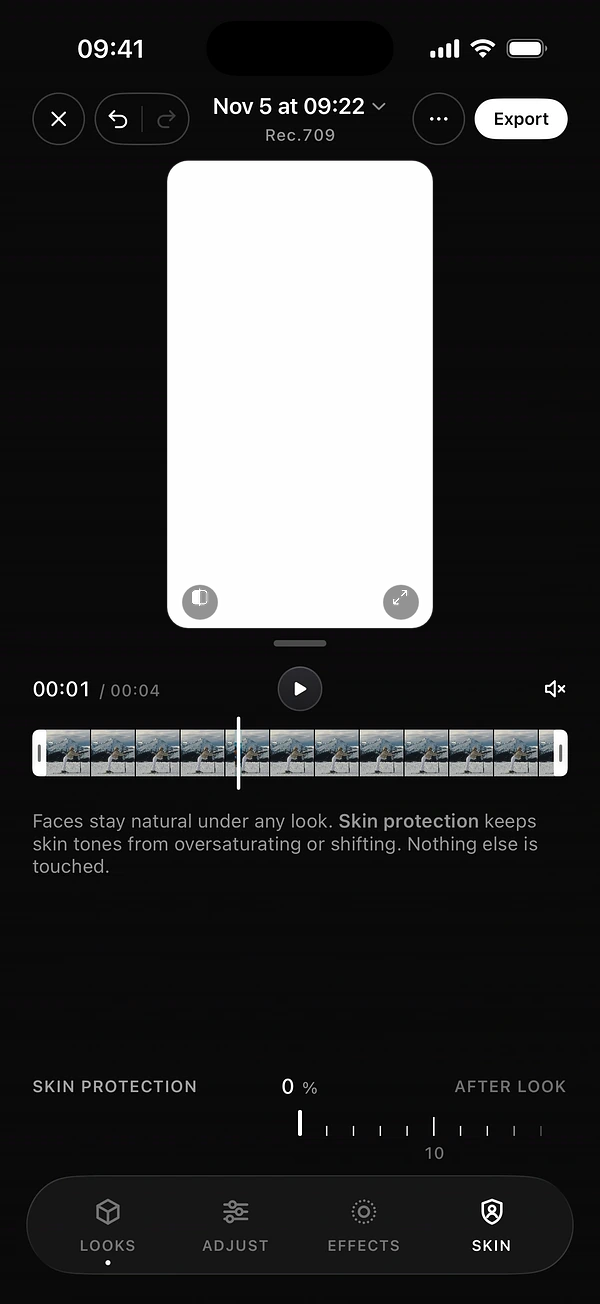
The Skin tab has one ruler, Skin protection, from 0 to 100%. Raise it when a strong look pushes faces too far. Nothing else in the image is touched. It is often the difference between a graded image and an overdone one.
Work faster
- Undo and Redo at the top left go back up to 100 steps.
- Double-tap any slider to reset it.
- In the ··· menu, Copy preset and Paste preset carry your grade to another clip, so a series keeps the same look.
- Save preset, in the same menu, keeps a grade for later. It then appears with your looks.
Questions
Can I grade videos from my camera roll?
Yes. Tap + in DOPE and pick a video from Photos. It becomes a project, one clip at a time.
Can I undo a change?
Yes. Undo and Redo sit at the top left of the editor, and cover up to 100 steps.
Can I reuse a grade on another clip?
Yes. In the ··· menu, use Copy preset and Paste preset, or Save preset to keep it for later.
Keep reading